*This post may have affiliate links, which means I may receive commissions if you choose to purchase through links I provide (at no extra cost to you). Thank you for supporting the work I put into this site!
Shoes, coats, hats, gloves, backpacks. It can pile up REAL quick if you are not careful. There is nothing worse than being late, rushing to get the kids out the door, only to be told that little “Johnny” is missing his shoe! Ugh!
Closets and mudrooms can be amazing spaces to keep, store and organize these sorts of things, but unless it functions and is easily accessible, you might as well kiss those dreams goodbye!
This was the reality in my house recently with a small coat closet we have in our entryway. There are a few reasons that it just did not work well for us. My biggest complaint was how the door going to our garage would slam into the closet door making it a huge headache anytime more than one person was going in or out. It also lacked any sort of shelving for shoes or hooks for coats.
So I thought, there has to be a better way…
Here is what I did.
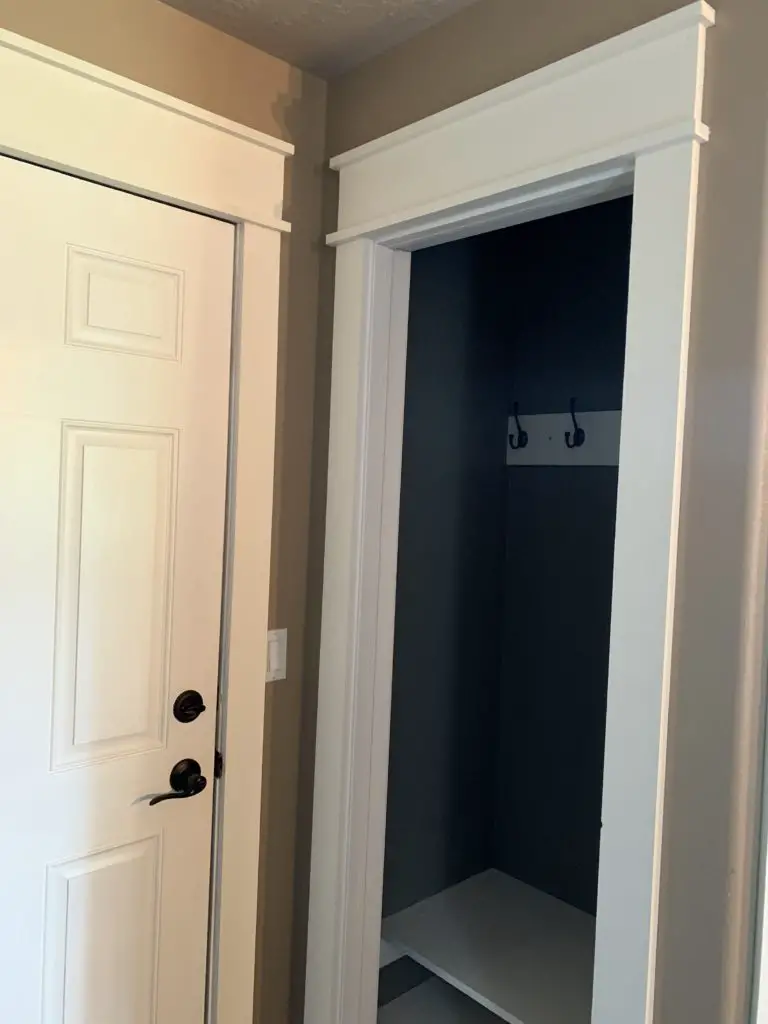
I solved the first problem with the doors by taking off the door. This step alone made a HUGE difference! I was amazed at how much bigger it made the closet feel!
Here is a pic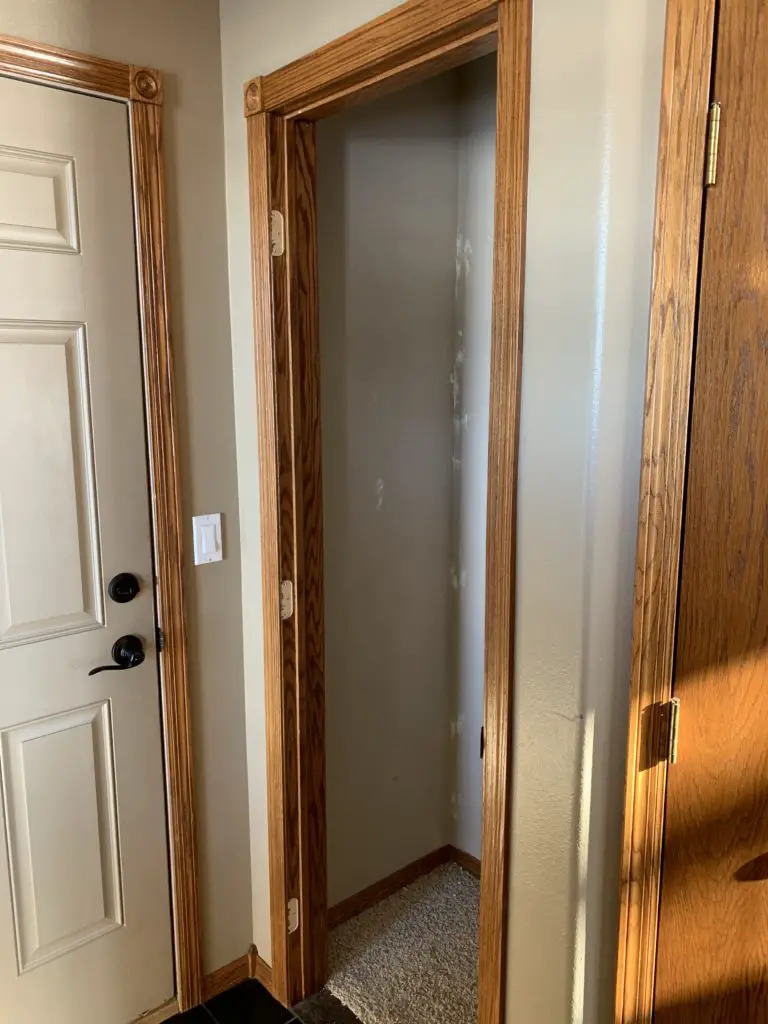
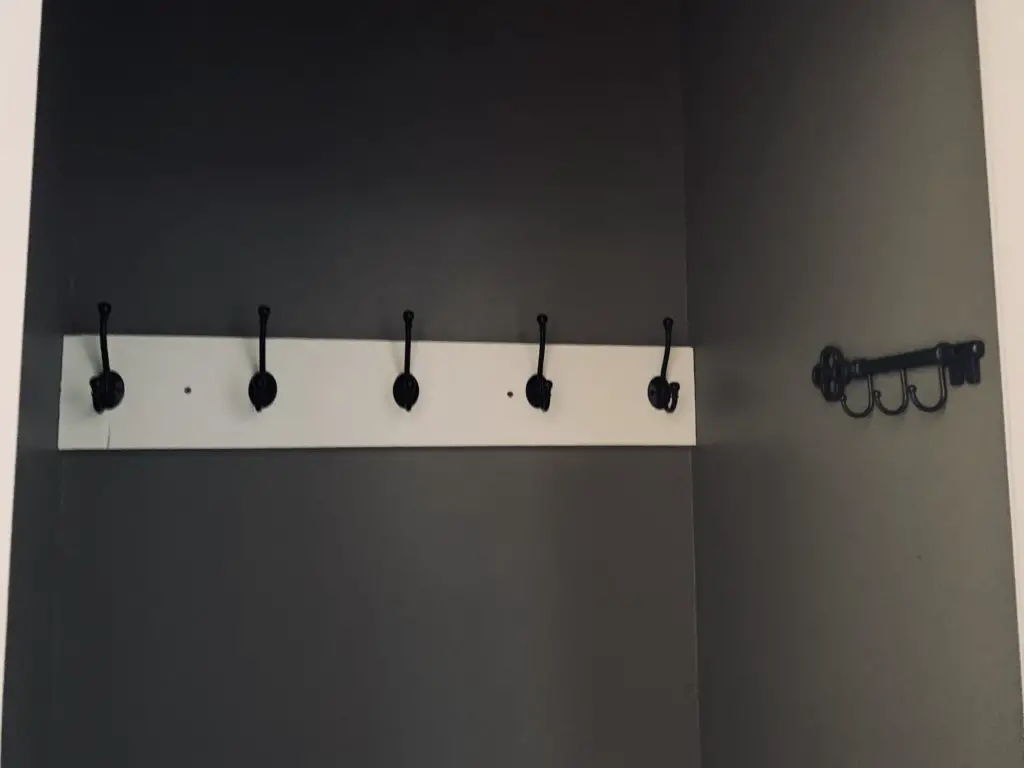
Next…I added a fresh coat of paint! I chose to go a couple shades darker than my wall color to give it more of an accent feel.
I then went out and bought a couple pieces of flat trim from Lowes to cover up where the door hinges use to be. I used caulk to fill in the gaps and painted the entire frame.
Here is a close up…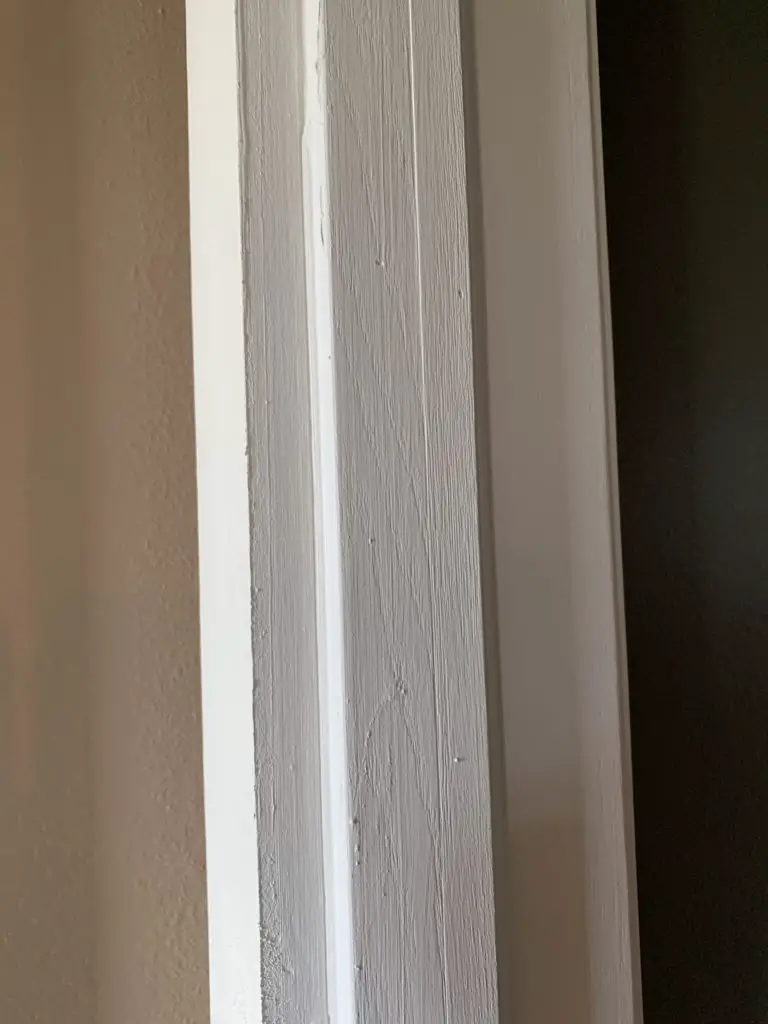
For the hooks I bought a pine board, painted it, measured and cut it to fit across my closet, and attached some hooks! That’s it!
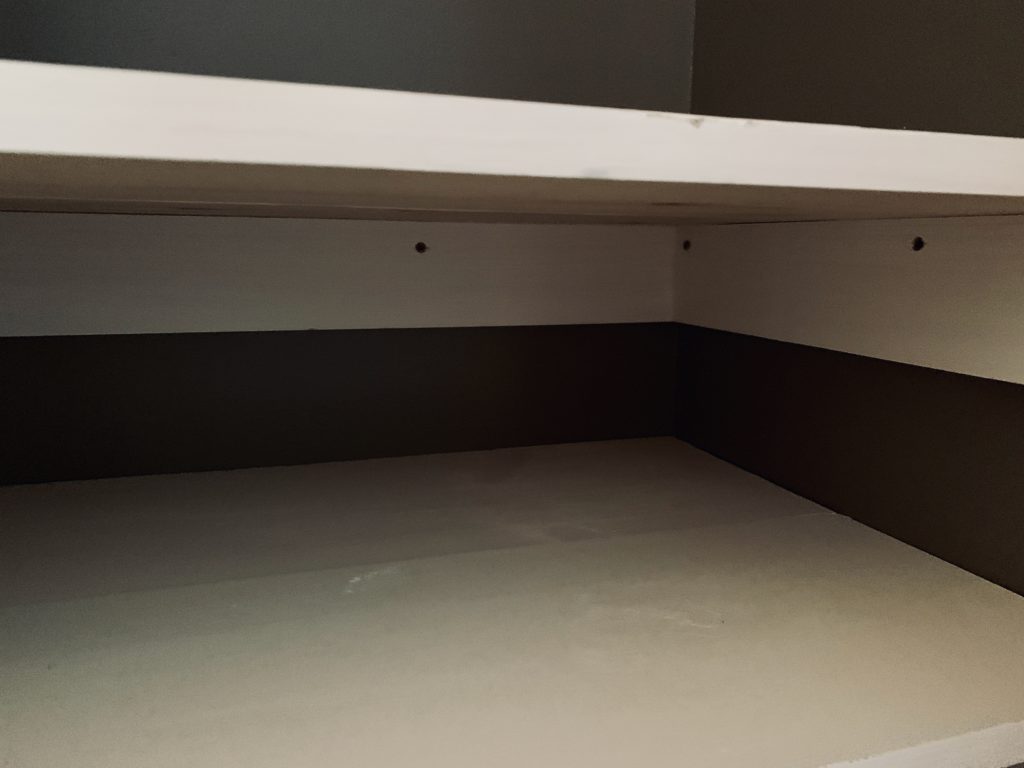
And for the shoes I also used smaller pine boards as anchors, and set the bigger pine boards on top. It was super simple! Just make sure you anchor them and put them in a stud.
Of course you can get much more elaborate with these sorts of projects, but that was not my goal for this one. My goal was simple, yet functional.
Here is the after pic…
I absolutely LOVE how it turned out! Not only does it function so much better, but it looks a lot better too! And the best part… it cost me less than $50.00! How awesome is that!
Oh and in case you missed my last post about how we did our trim, you can check it out here