*This post may have affiliate links, which means I may receive commissions if you choose to purchase through links I provide (at no extra cost to you). Thank you for supporting the work I put into this site!
If you follow me at all on Instagram you probably now that the curriculum we use in our homeschool is from The Good and The Beautiful. We have used a wide variety of curriculum over the years, but so far this is my absolute favorite! Even the kids agree!
One of my favorite parts about this curriculum would have to be there science. I love that it is broken up into 6 week unit studies, and we can do it entirely together as a family. That alone saves me a TON of time, while also allowing us the freedom to learn together! I love that!
Part of their science curriculum calls for you to build a science wall. This is suppose to be a wall where you can display all of the vocab words and beautiful pictures that come with the unit you are learning. I have seen some people just put everything up randomly on a wall somewhere. I have also seen others who go out and buy some sort of project or display board ( the kind kids put science projects on ) and they put everything on there. I however, am a bit more minimalistic than that, I did not like the idea of covering my walls, but also did not want a bunch of display boards laying around with each new unit we did.
So I thought… there has to be a better way?
Here is what I came up with…
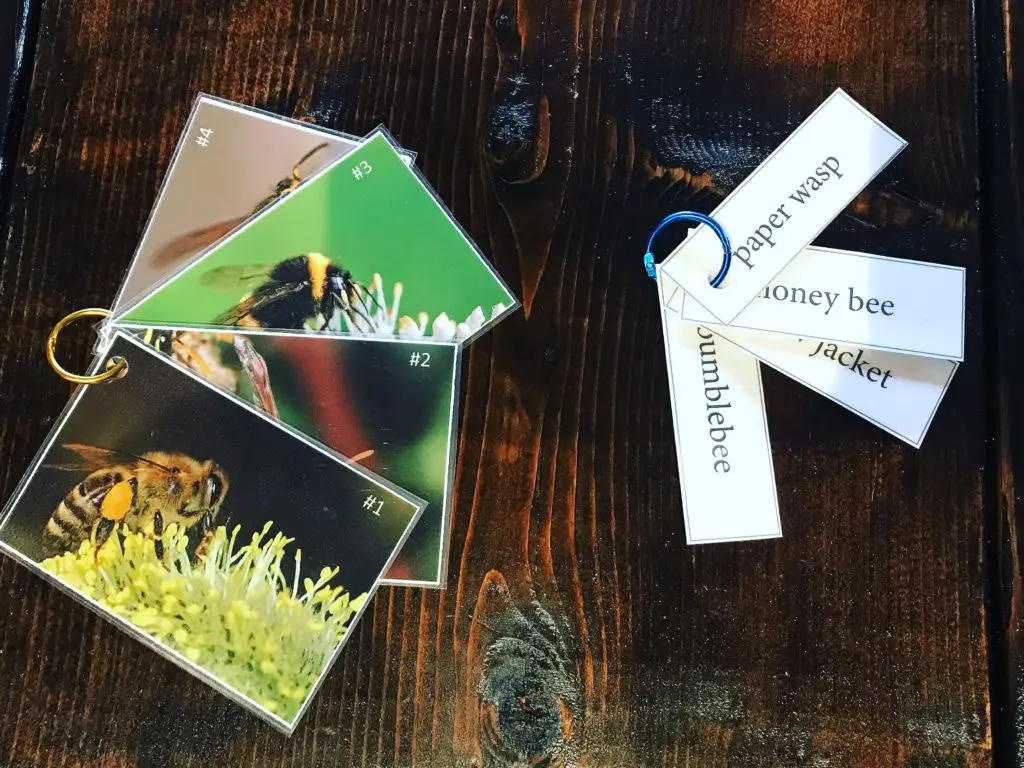
First I cut out and laminated all of the vocab, corresponding pictures, and definitions. I then hole punched them, and put them on binder rings according to group. This is an example of what it looked like when I was done.
The next thing I did was I went out and bought this magnetic board from Hobby Lobby. I waited until it was 50% off, so it only cost me around $17.00. After that I went to Target and bought some of these magnetic hooks. They come in a pack of 4 for around $4.00, so not too spendy.
I then hung the board on the wall and attached the hooks where I saw fit. Each week as we would go through a specific lesson, I take out whatever pictures and vocab that go with that weeks lesson, and hang it on a hook!
Here is what it looks like all put together…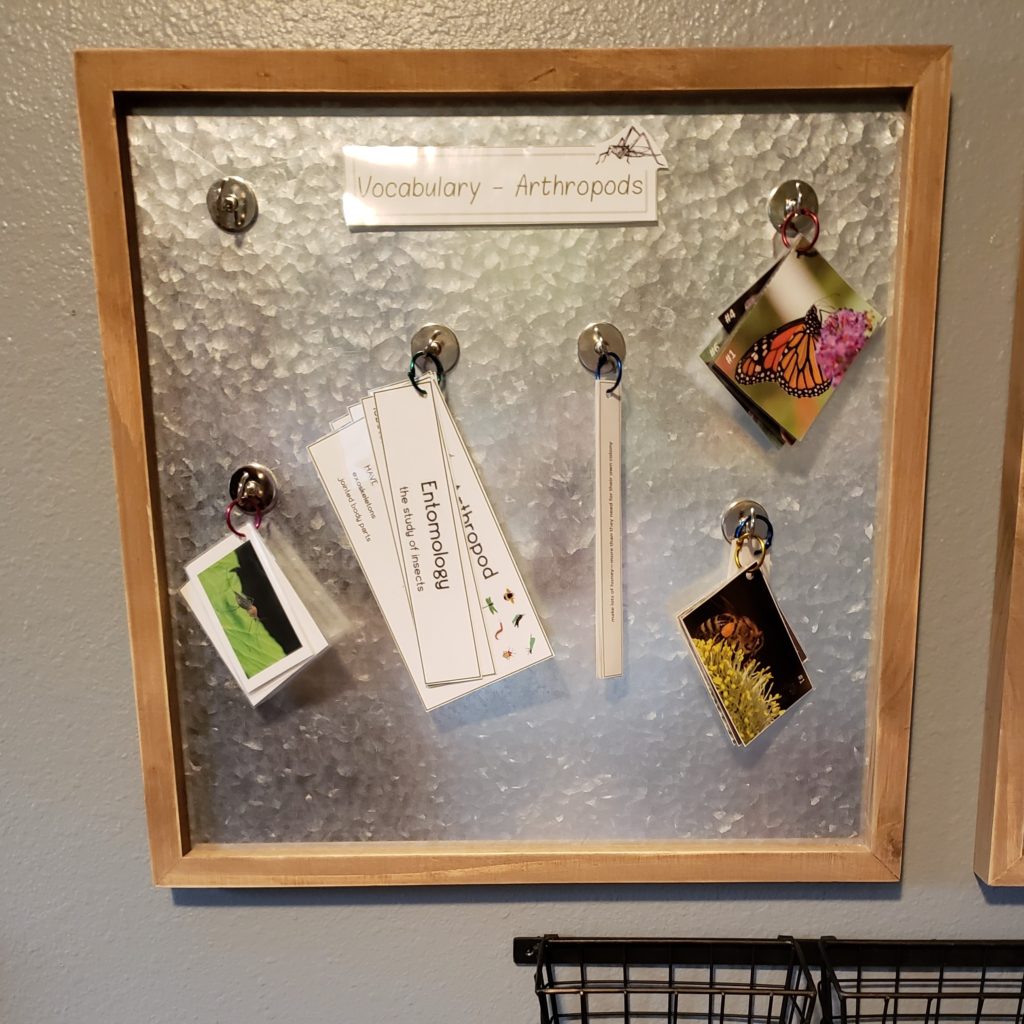
I put all of the vocab words on one key ring, all of the pictures from each lesson on one key ring, and all of the definitions on one key ring. This helps to keep things separate but also makes it easy to review when need be.
It is SO easy for my kids to take the cards off of the hook and quickly review for that week! I also like that it takes up very little space, and is all laminated and connected on a key ring so that pieces are not easily lost or destroyed!
We do science twice per week in our house, but everyday I require that they either do 10-15 minutes of science related reading, or 10 minutes of flash card review. This makes it easy for them to find a cozy spot, grab what they need to review, and put it away when they are done!
So if you are looking for a different solution to the science wall, I hope you will consider this one. It is really pretty simple, and so far has worked out great for our family.
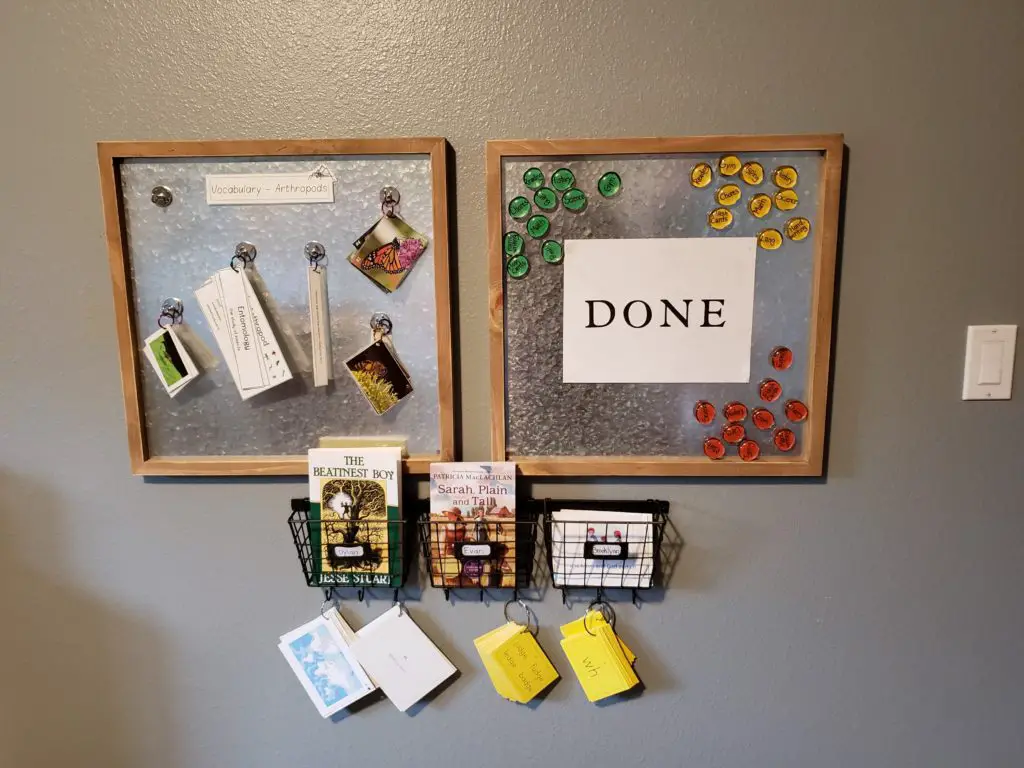
Here is a bigger picture of what our wall looks like. We have some other things hanging next to it, but that is for a whole other post!
 I hope this has helped you, please feel free to leave a comment, or share with anyone you think may benefit from this!
Thanks for stopping by!
Oh I like that!!! What a great idea!