*This post may have affiliate links, which means I may receive commissions if you choose to purchase through links I provide (at no extra cost to you). Thank you for supporting the work I put into this site!
Dirty dishes, messy bedrooms and toys as far as the eye can see.
Whether your kids are younger or older, teaching kids to be responsible is no easy task. But it is one that I believe is totally worth it! Not only for you, but even more so for them!
Here are a few great reasons we make chores essential in our house…
Reason #1 – Studies have proven that children who have chores end up being more successful as adults. They are also less likely to use drugs, and have better relationships with their family and peers.
Reason #2 – Chores teach children about delayed gratification. Whether or not you reward, and what you reward, is up to you, but teaching your child how to work and not necessarily have “immediate gratification” can be such a valuable lesson to learn.
Reason #3 – Chores teach self-discipline. This is a big one for me! There are many things in life that we have to do, even if we don’t feel like doing it. It’s often said that successful people are good at doing what other people don’t want to do or couldn’t be bothered doing – they have great self discipline. Self discipline is an essential skill required to do well in many areas of life.
With all of that said, I hope I have convinced you why you should implement a chore routine in your house. Now I want to show you what has worked really well for us, and how we put it together…
Here it is…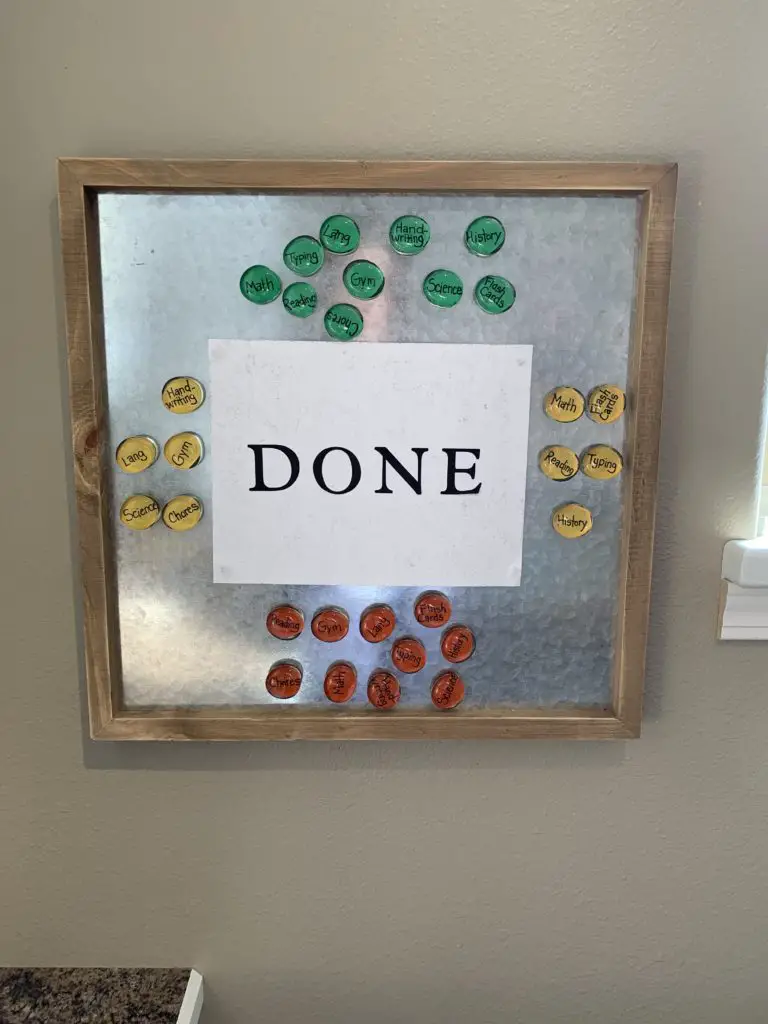 Here is how it works.
All three of my kids share the same board. Each kid has a different color with a different set of tasks to complete. When they are done with the task they then get to move the magnet to the white sheet that says “DONE” My kids absolutely love this part! It makes them feel so accomplished to see their magnets move over one by one. Once all of the magnets are on the “DONE’ sheet, they are “DONE!’ It is that simple!
It does take a small amount of time and craftiness from you in the beginning, but after that, this is a no maintenance system. No papers flying around and no dry erase marker mess. At the end of the day, they move their tasks back to the corner of the board and just repeat the next day! I also love how it is so self sufficient. Whenever my kids ask me “Mom what do I do now? I just point to the board and usually they are like “Oh ya, I forgot to do my _____ !
You also might notice that some of my magnets have subjects on them? That is because we homeschool and also use this system to keep my kids on track with their school work. This also has worked really well for us, but that is something I plan to write more about in another post.
So there you have it my friends! It really is simple. Very efficient. I love it and my kids love it too!
So if I still have you interested. Here are the steps I took to put it together…
Step #1 – I went out and bought this magnetic board at Hobby Lobby. You would not need this exact board, any board will do, but I liked how this one had a decorative feel. An alternative would be something like this from Amazon
Step #2 – You will need some supplies to put the magnets together. Here is what I used….
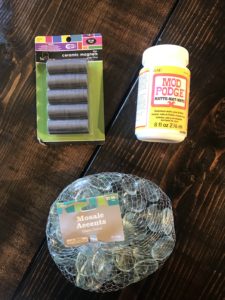
I bought all of these items at Hobby Lobby, and maybe spent $15.00 total, if that. You will use the small box of magnets to attach to the mosaic accents. The mosaic accents are what you will be using to attach your “chore” to, and the modge podge is the glue you will use to stick it all together. If it is more convenient for you to order off of Amazon, I will link to what you need here, here, and here
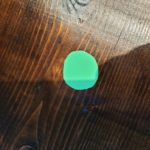
Step #3 – First choose a different color for each child. Then start by tracing the outer circle of one of your mosaic pieces. (Note: I found that they were all basically the same shape, so I traced the circle once, folded the paper in half a few times, cut the circle out, and VIOLA, I had all the circles I needed in that color with one cut!) This saves you from cutting multiple circles, one at a time!

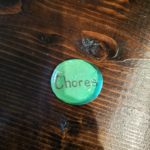
Step #4 – Write your child’s individual chores or responsibilities on each circle.

Step #5 – Using a small brush, paint a small amount of modge podge on the front (side with the words) of each circle! (Note: If you are not familiar with modge podge it does go on looking a bit hazy but will dry very clear.) Now all you need to do stick the paper to the flat side of the marble.
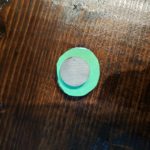
Step #6 – After Step #5 is dry, you can now apply a small amount of modge podge to the other side of the marble and attach the magnet. This is what it will look like…
Let glue dry for at least 15-20 minutes and repeat steps above for each child and for every magnet. That’s it! It does seem a little tedious but it really is not that bad. All together it took me a little over 1 hour to do for everything!
The only other thing you need to do is to make a space in the middle, for your “DONE” chores to go!
For mine all I did was take a 12×12 sheet of cardstock, write the word “DONE” and use a little sticky putty to stick it to the board! So simple!
Being a parent can be so tough. It is by far the hardest job you will ever do! So if we can adopt little thing like this to help make our job easier, I would say it is all worth it!
I hope this post has inspired you. Please feel free to leave a comment and let me know what you think. Do you have a fun or special way that you handle this in your house? I would love to hear your thoughts!
I was hopin you would post about your chore board soon! I am excited to do this for my two kiddos I have at home!
We were just talking earlier about getting the chore chart done and then I noticed your post!
You have great ideas! Thanks so much for sharing them with the rest of us. Now to NOT write a blank check in Hobby Lobby for the whole store…….. 😏
Wonderful website. Lots of useful information here. I’m sending it to some buddies ans additionally sharing in delicious. And obviously, thanks to your sweat!